
A well-maintained concrete driveway lasts 25 to 30 years in Indianapolis. Learn what shortens its lifespan and how sealing extends it.
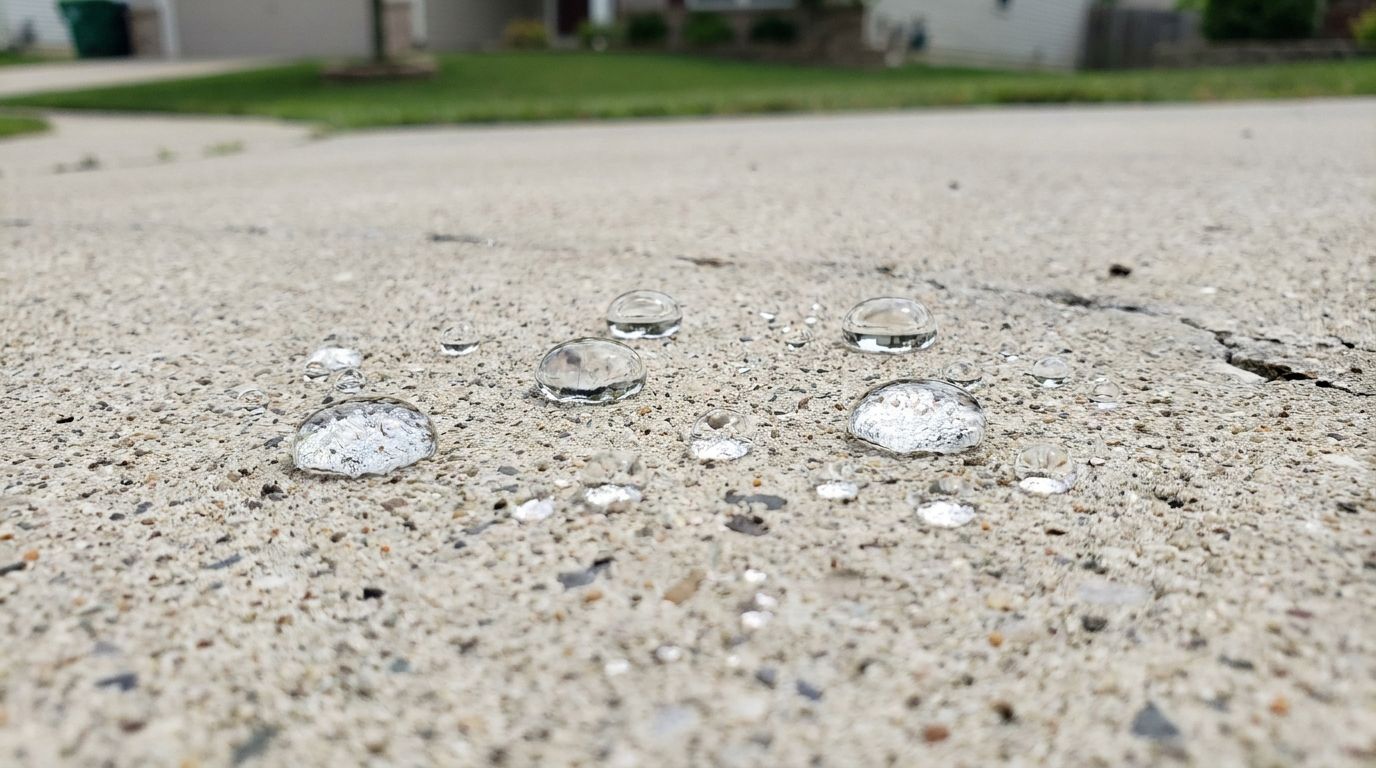
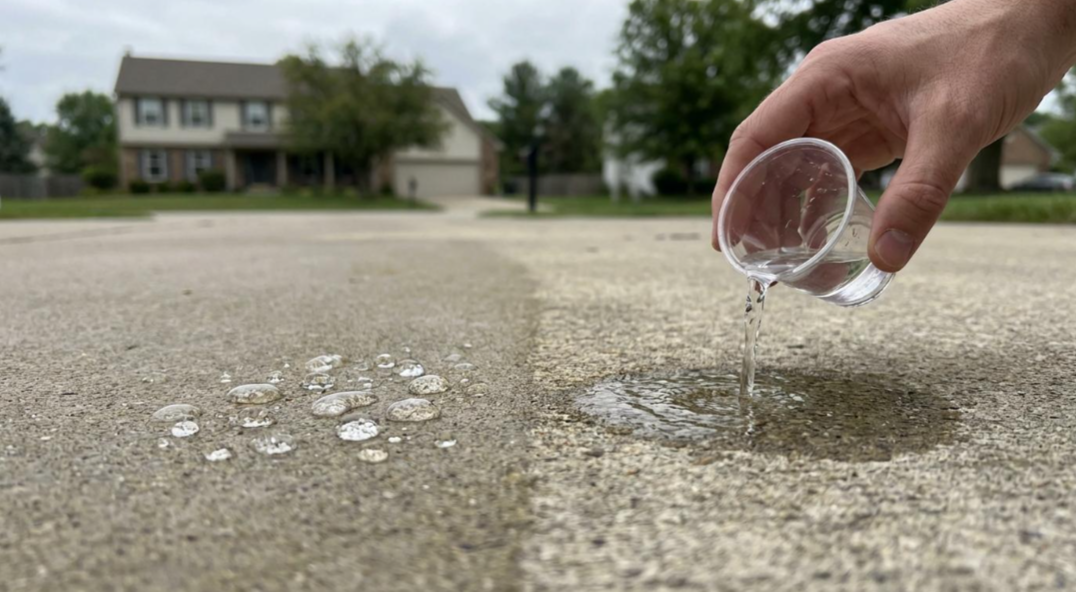
Use these four simple tests to check whether your concrete is sealed before reapplying sealer or scheduling professional concrete care.
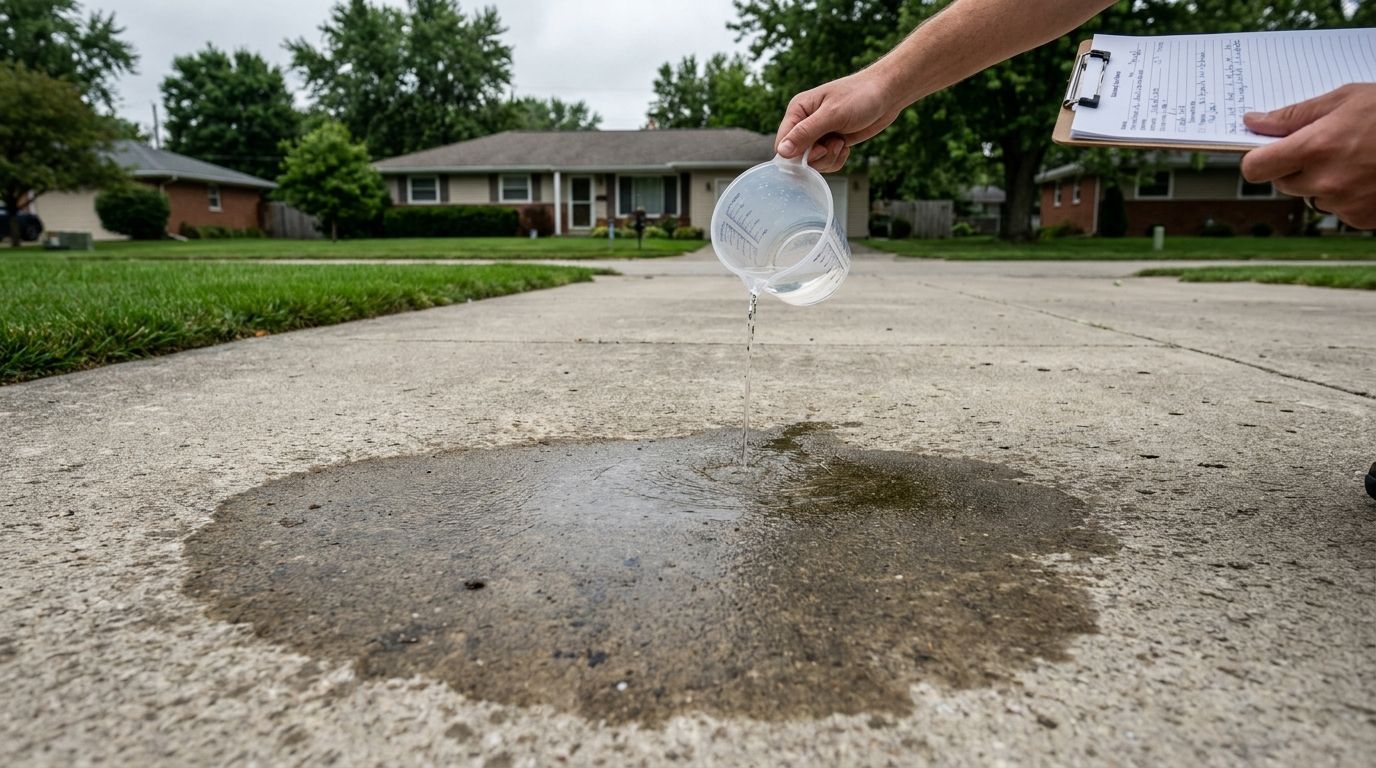
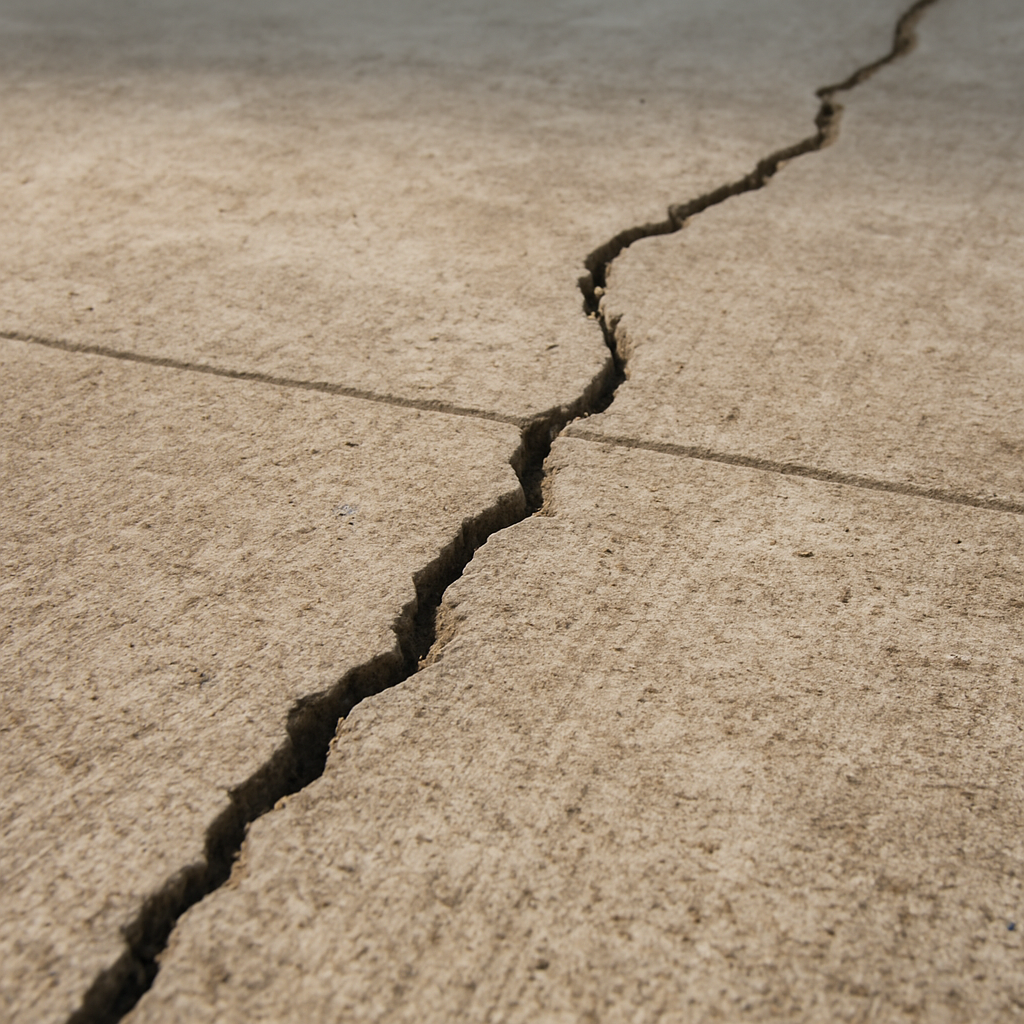
Indianapolis driveways need resealing every 2 to 3 years due to freeze-thaw cycles and road salt. Learn how to tell when yours is due.
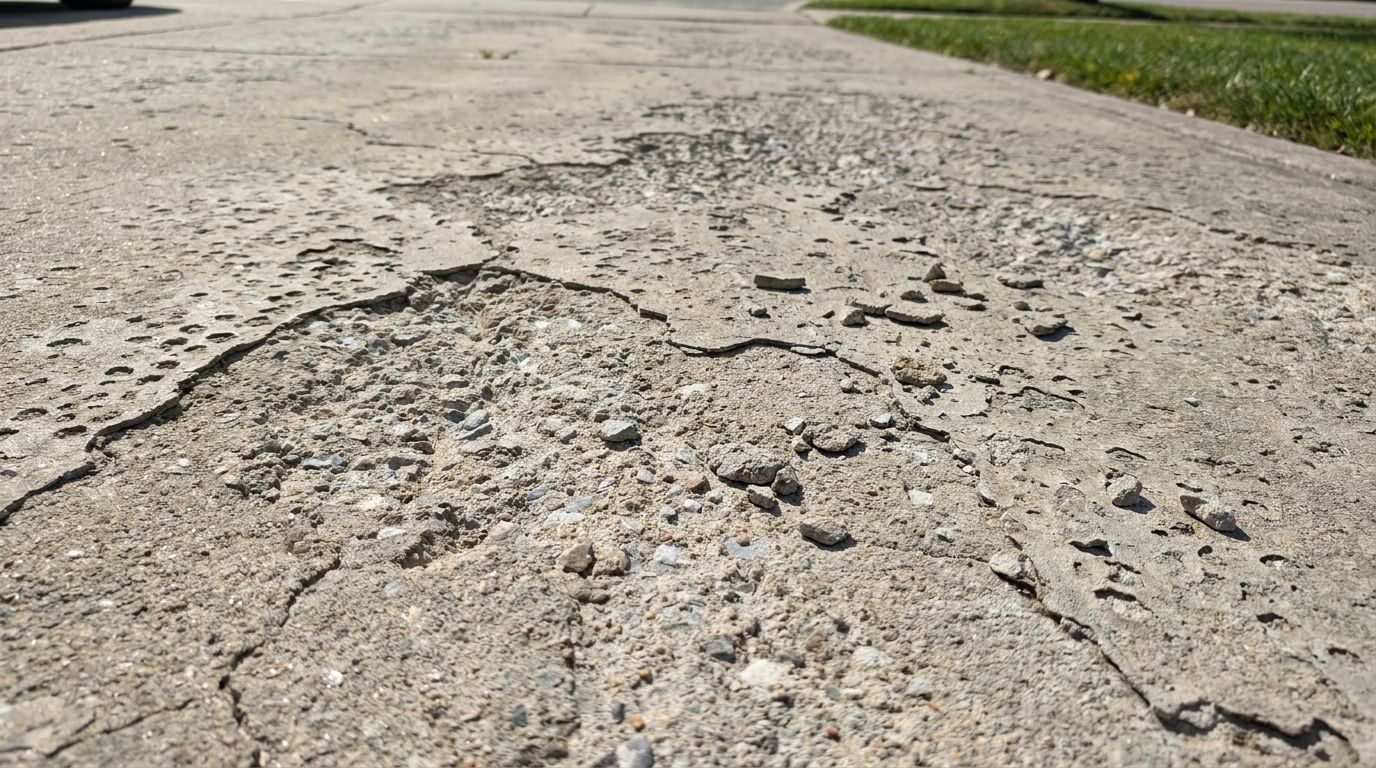
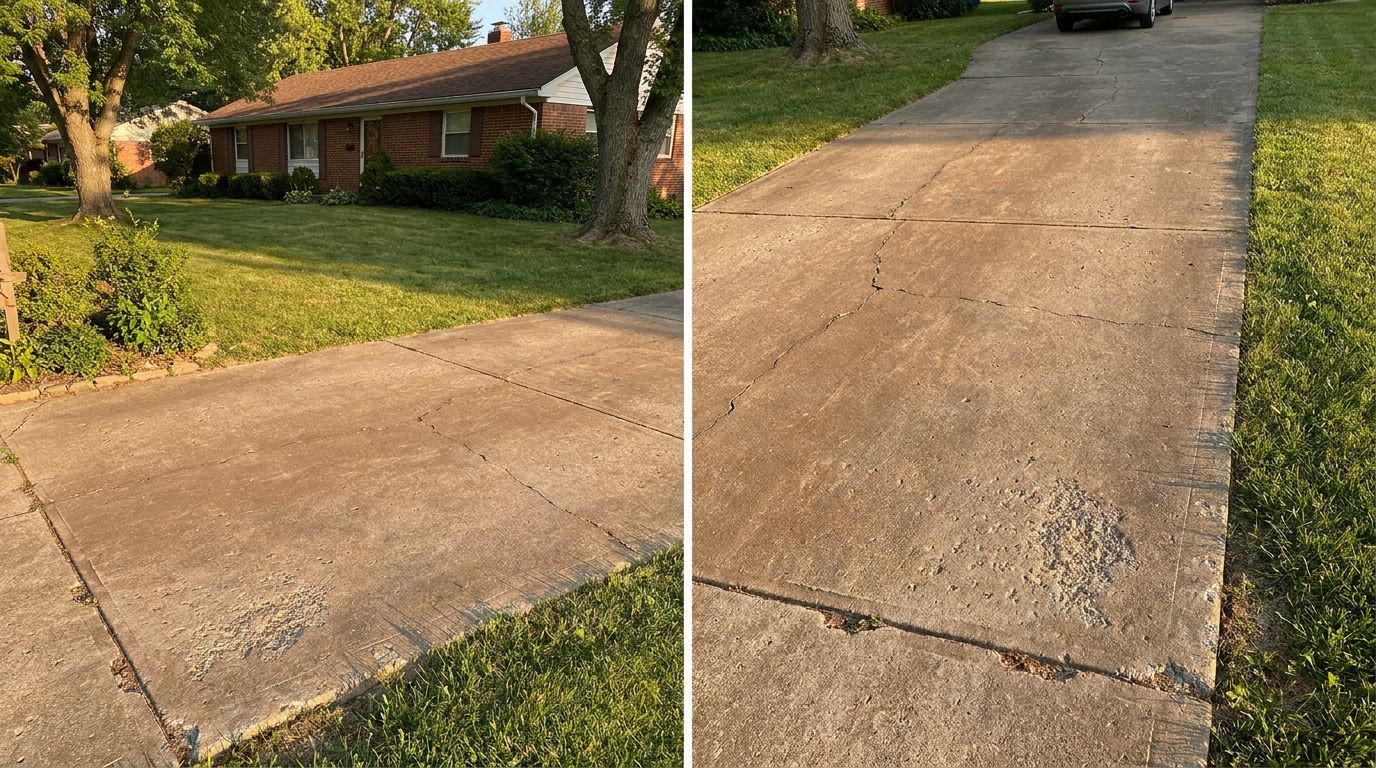
Learn what causes concrete flaking on Indianapolis driveways and when to repair, resurface, or seal to stop the damage from spreading.
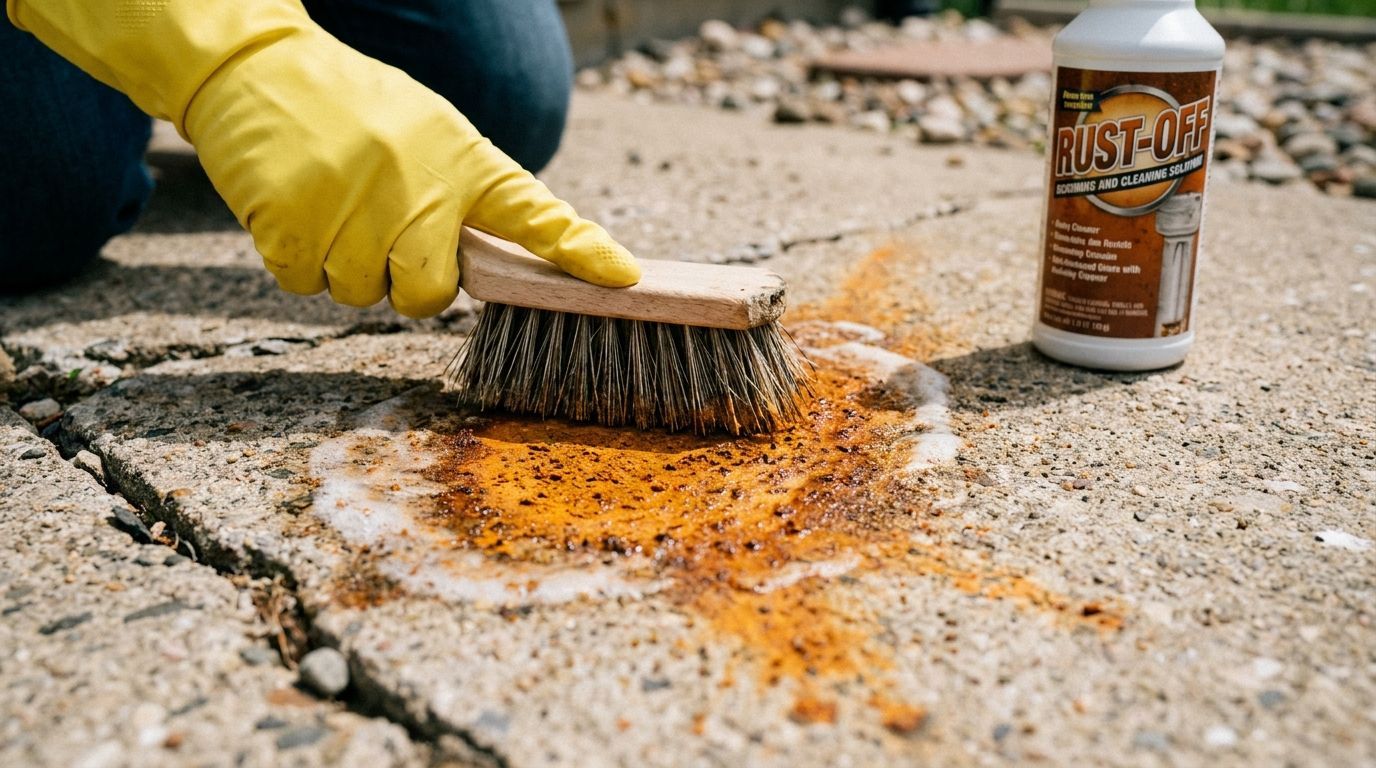
Learn step-by-step methods for removing rust stains from concrete, from DIY solutions like vinegar & oxalic acid to professional stain removal in Indianapolis.
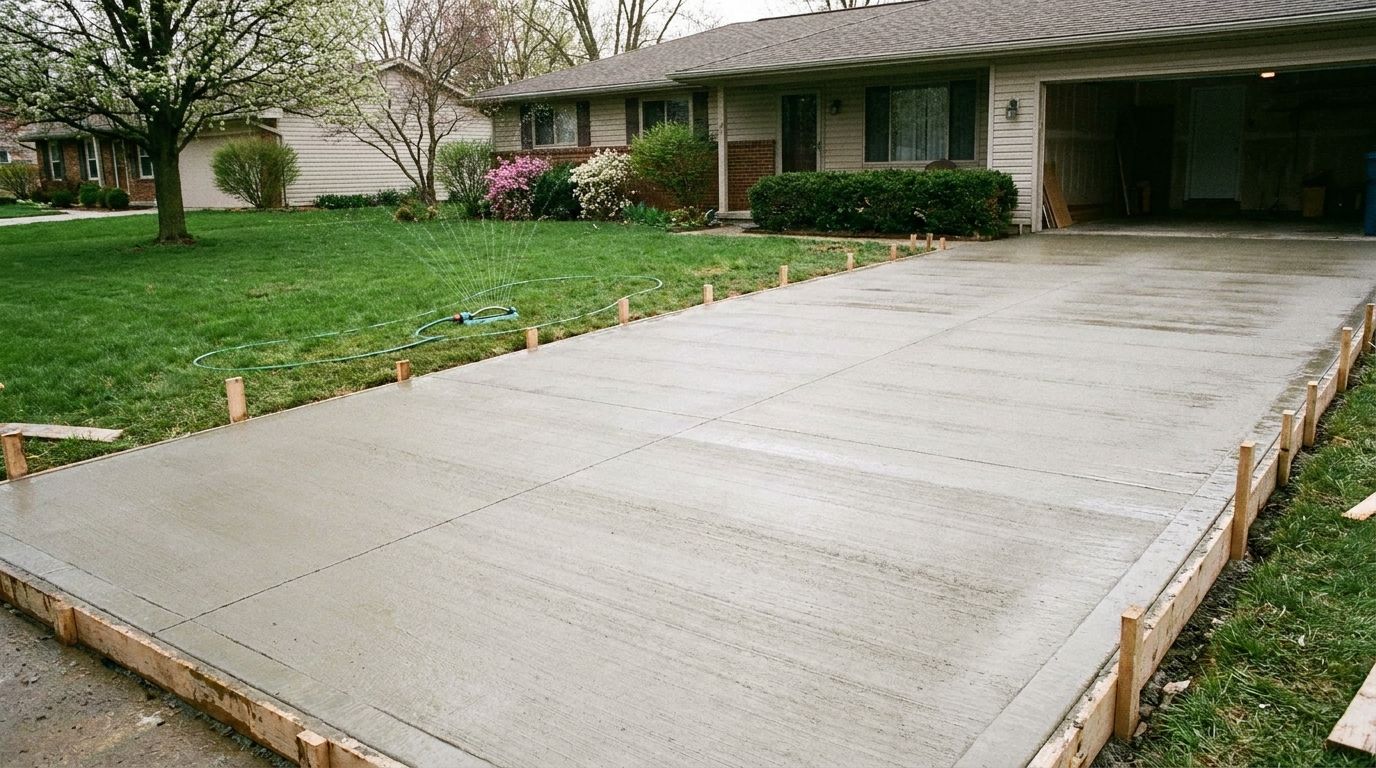
Find out how long to wait before sealing new concrete, including the best months for concrete sealing in Indianapolis based on cure time and temperature.
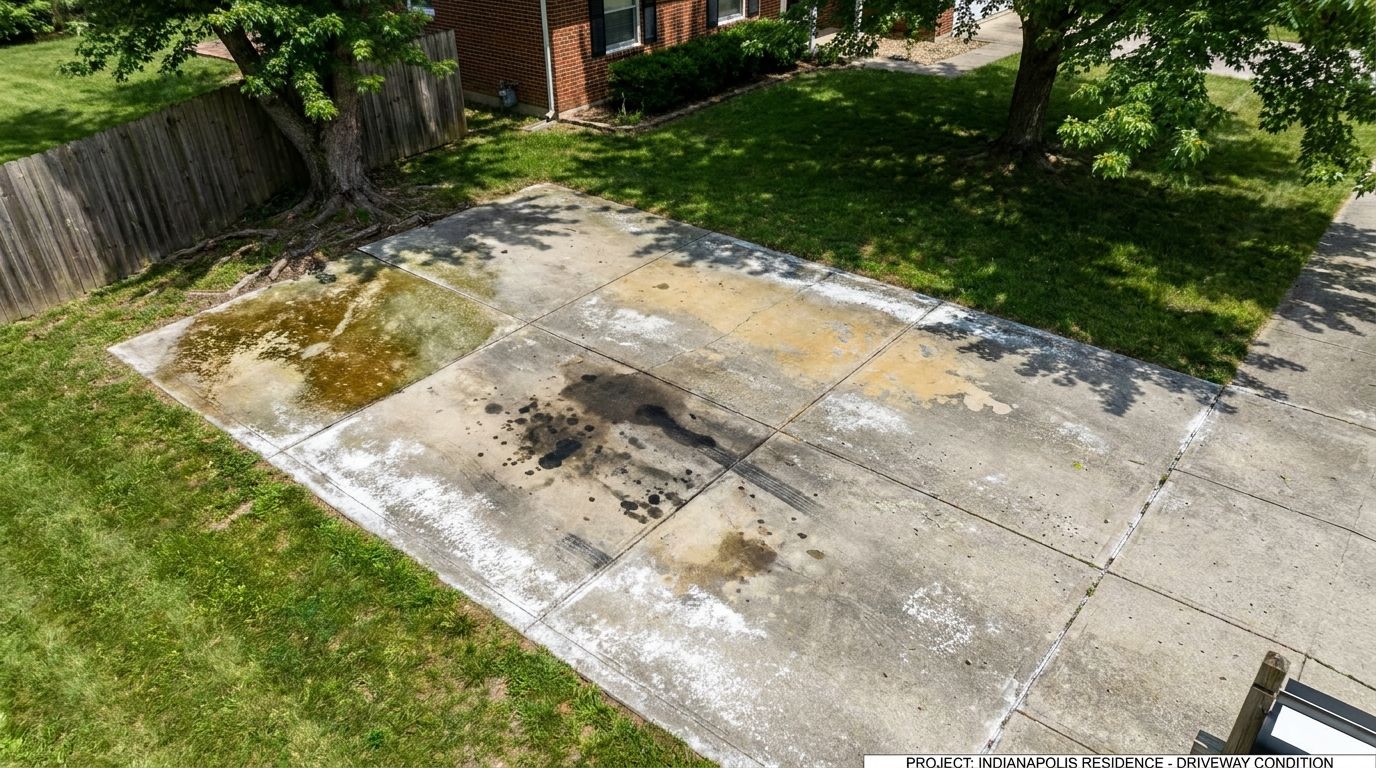
Discover what causes concrete discoloration in Indianapolis and how to fix fading, staining, and uneven color on your driveway or patio.
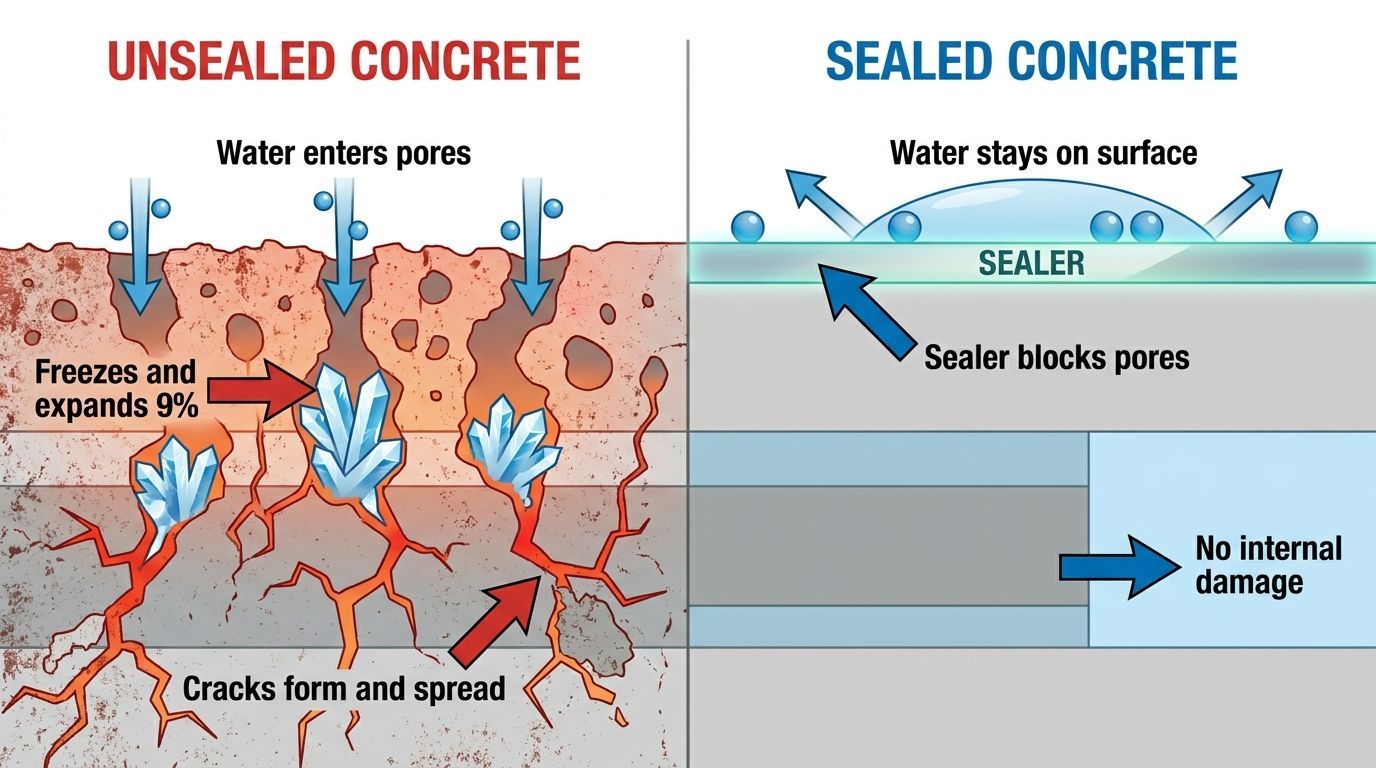
Compare sealed vs. unsealed concrete in terms of durability, maintenance, and cost. See how sealing protects Indianapolis driveways from freeze-thaw and salt.
Concrete sealer lasts 1 to 10 years, depending on the type. See how acrylic, penetrating, and polyurethane sealers hold up in Indiana's climate.
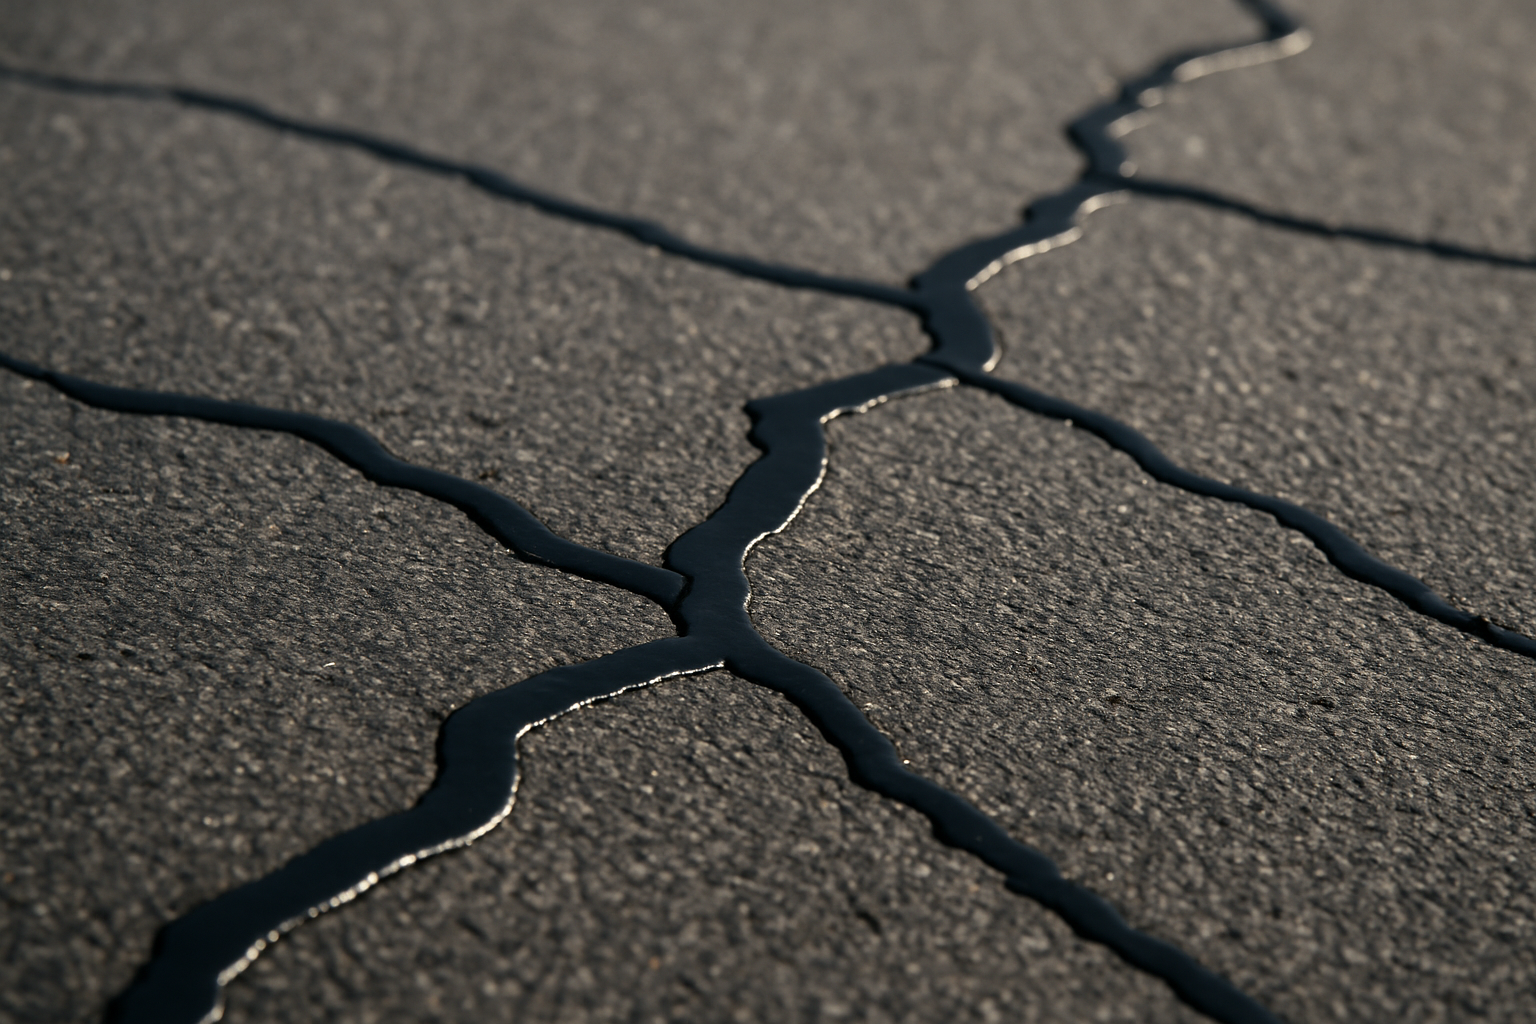
Concrete scaling is surface peeling; spalling runs deeper. Learn how to tell them apart, what causes each in Indiana, and when to repair or seal.